


Hampshire Holiday Decor
An Old-World Citrus Christmas
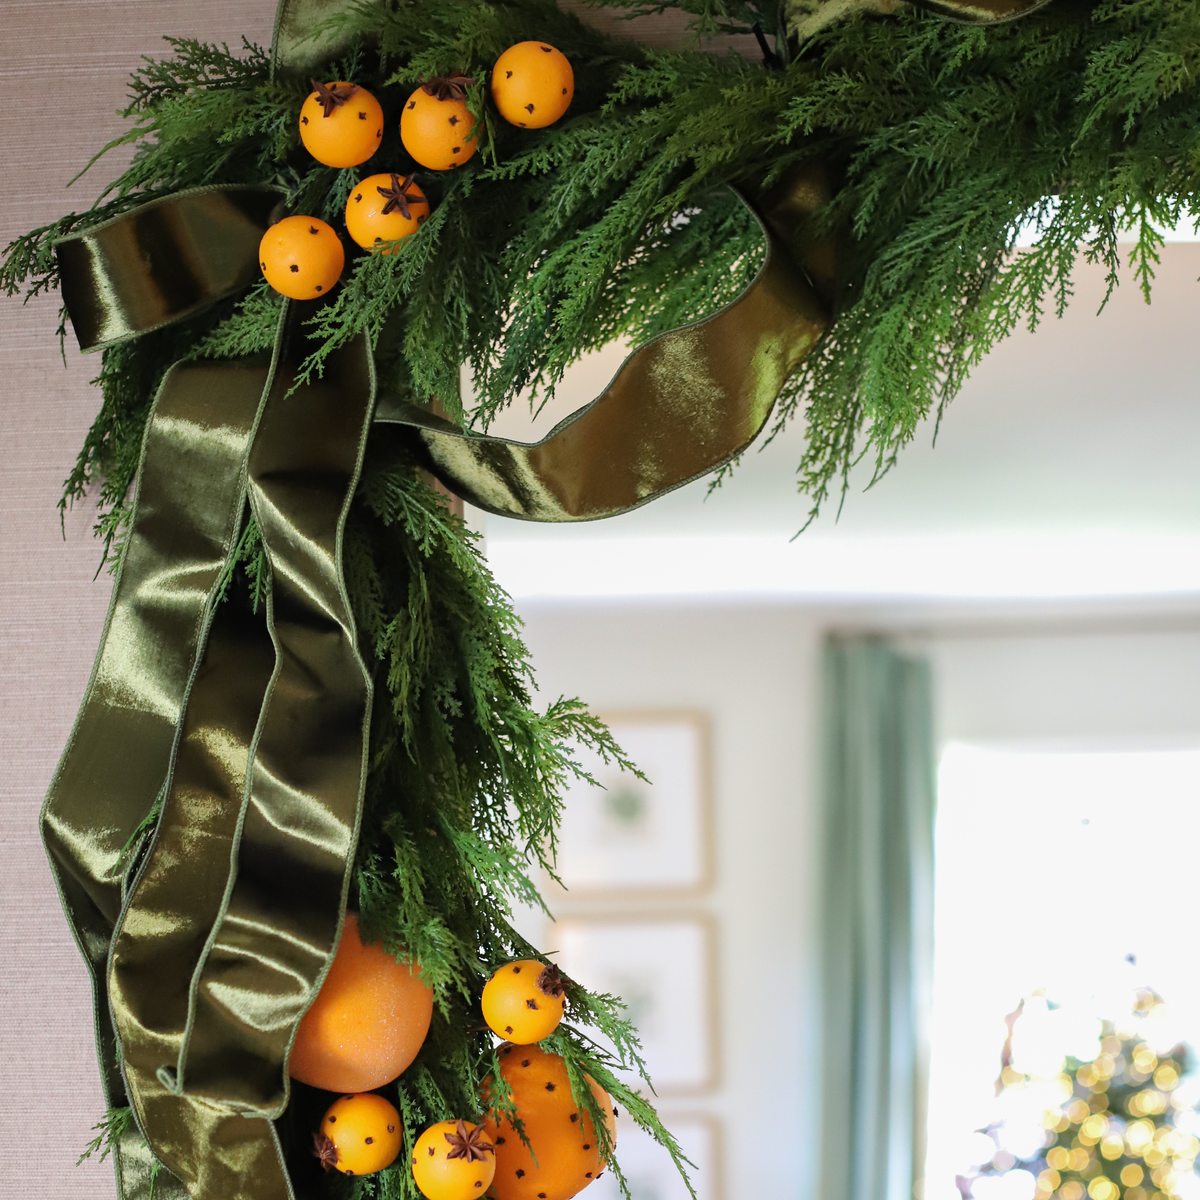
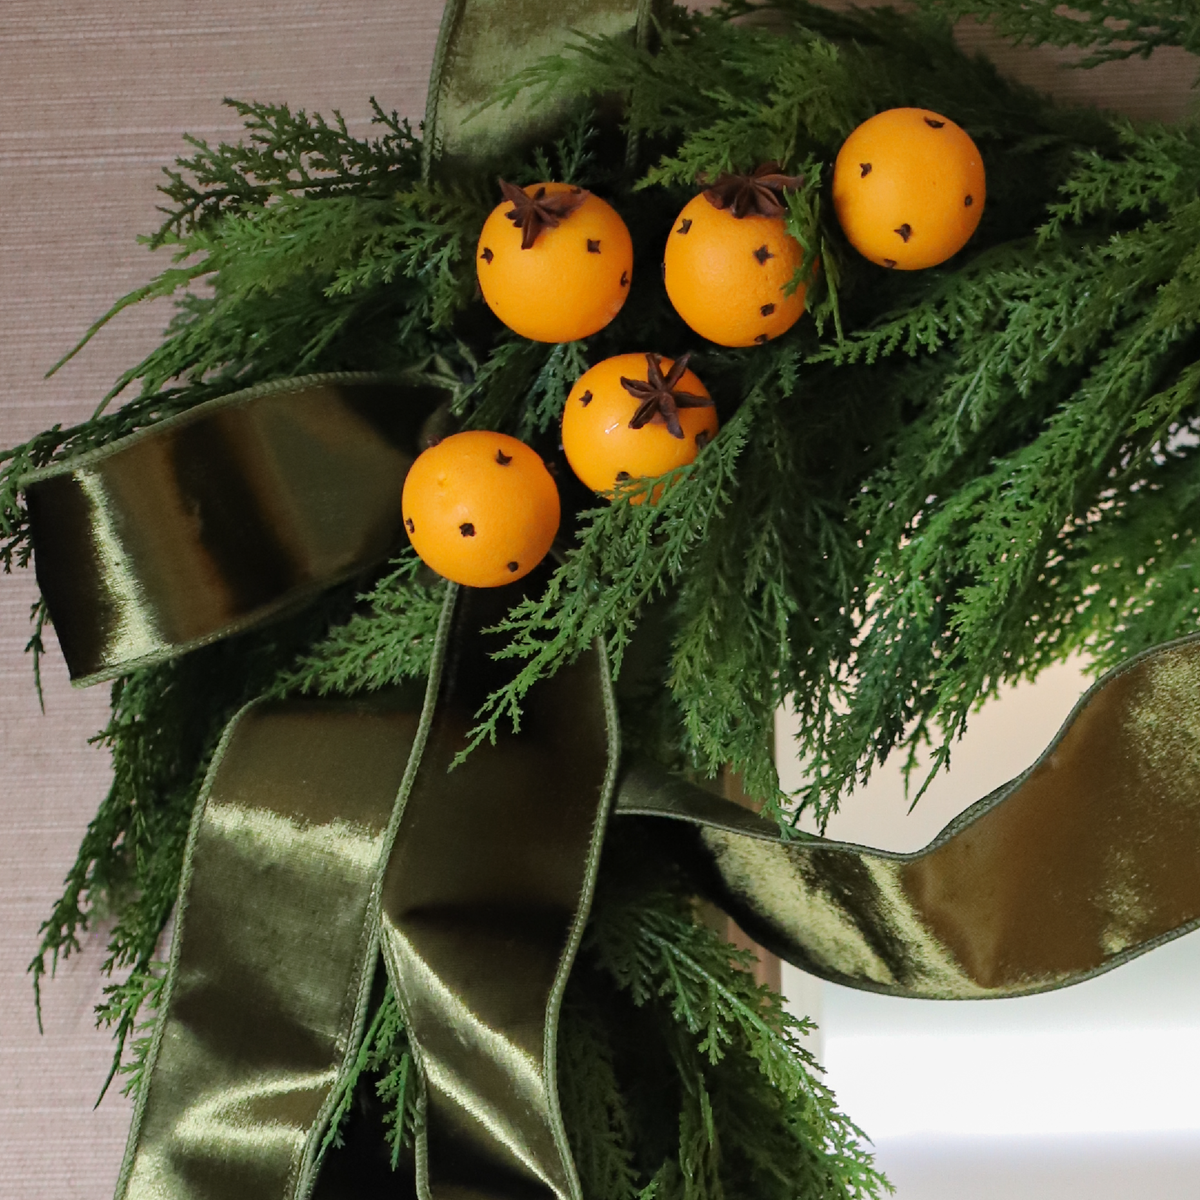
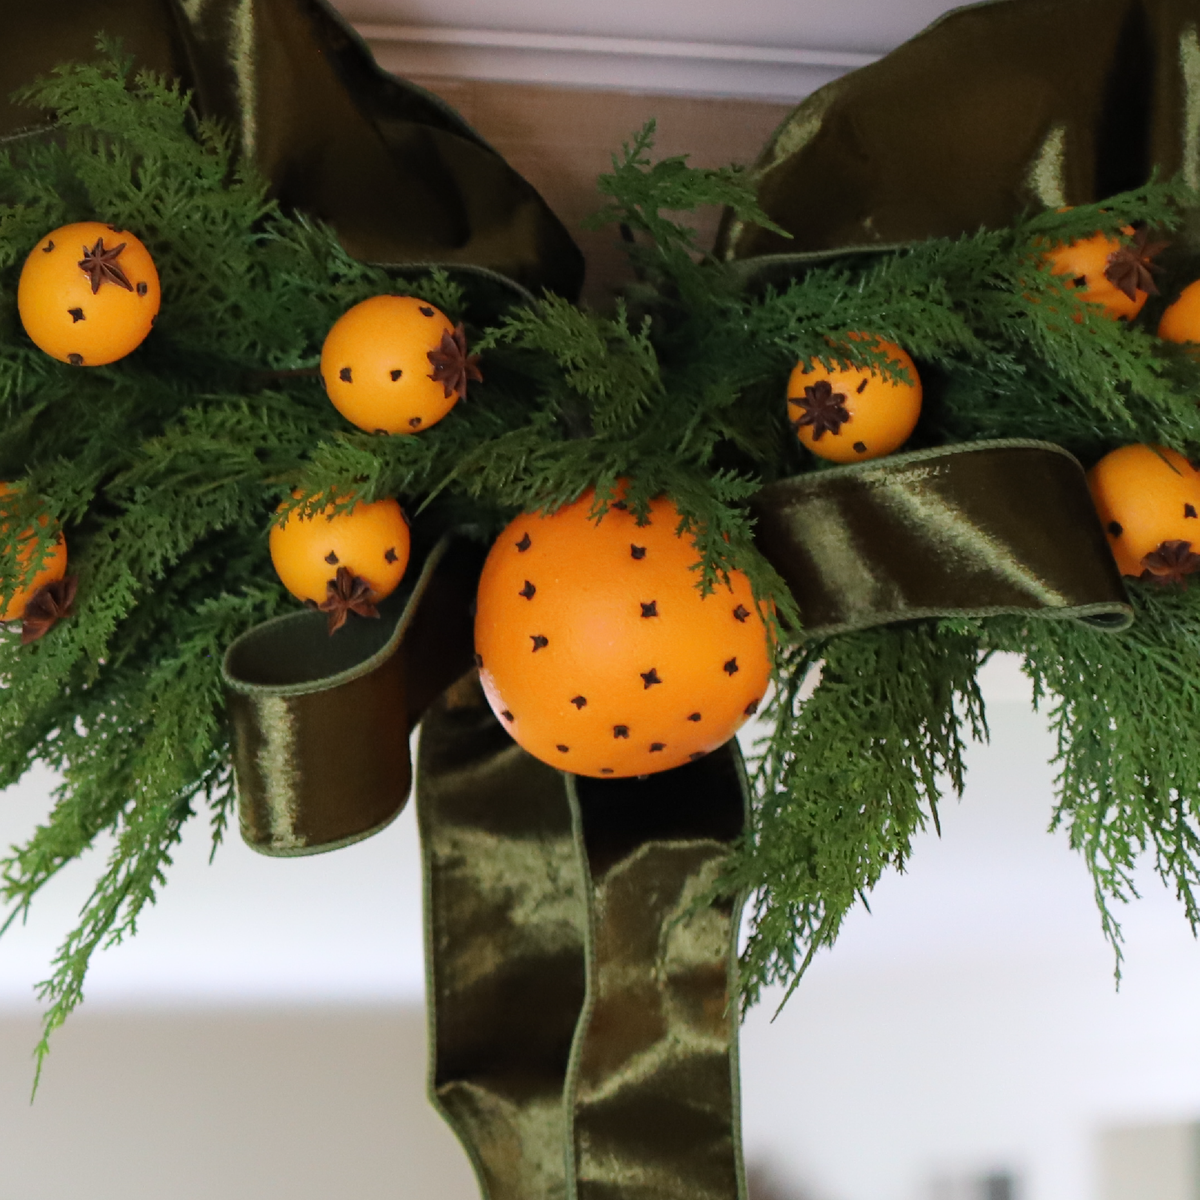
Inspired by the abundant greenery and traditional decorations of an English country Christmas, the Hampshire Holiday Decor Collection pairs lifelike cedar with warm oranges, clove-studded pomanders, sugared berries, and rich olive velvet.
Each piece is beautiful on its own, but the collection was chosen to be layered. Begin with Hampshire cedar, add citrus and berry accents for color, then finish with sweeping velvet ribbon for a holiday display that feels gathered, generous, and wonderfully timeless.

designed to layer
build the hampshire look
The charm of Hampshire is in its rich mix of greenery, fruit, and velvet. Layer the collection across a mantel, staircase, doorway, or Christmas tree to create a display that feels collected over time.
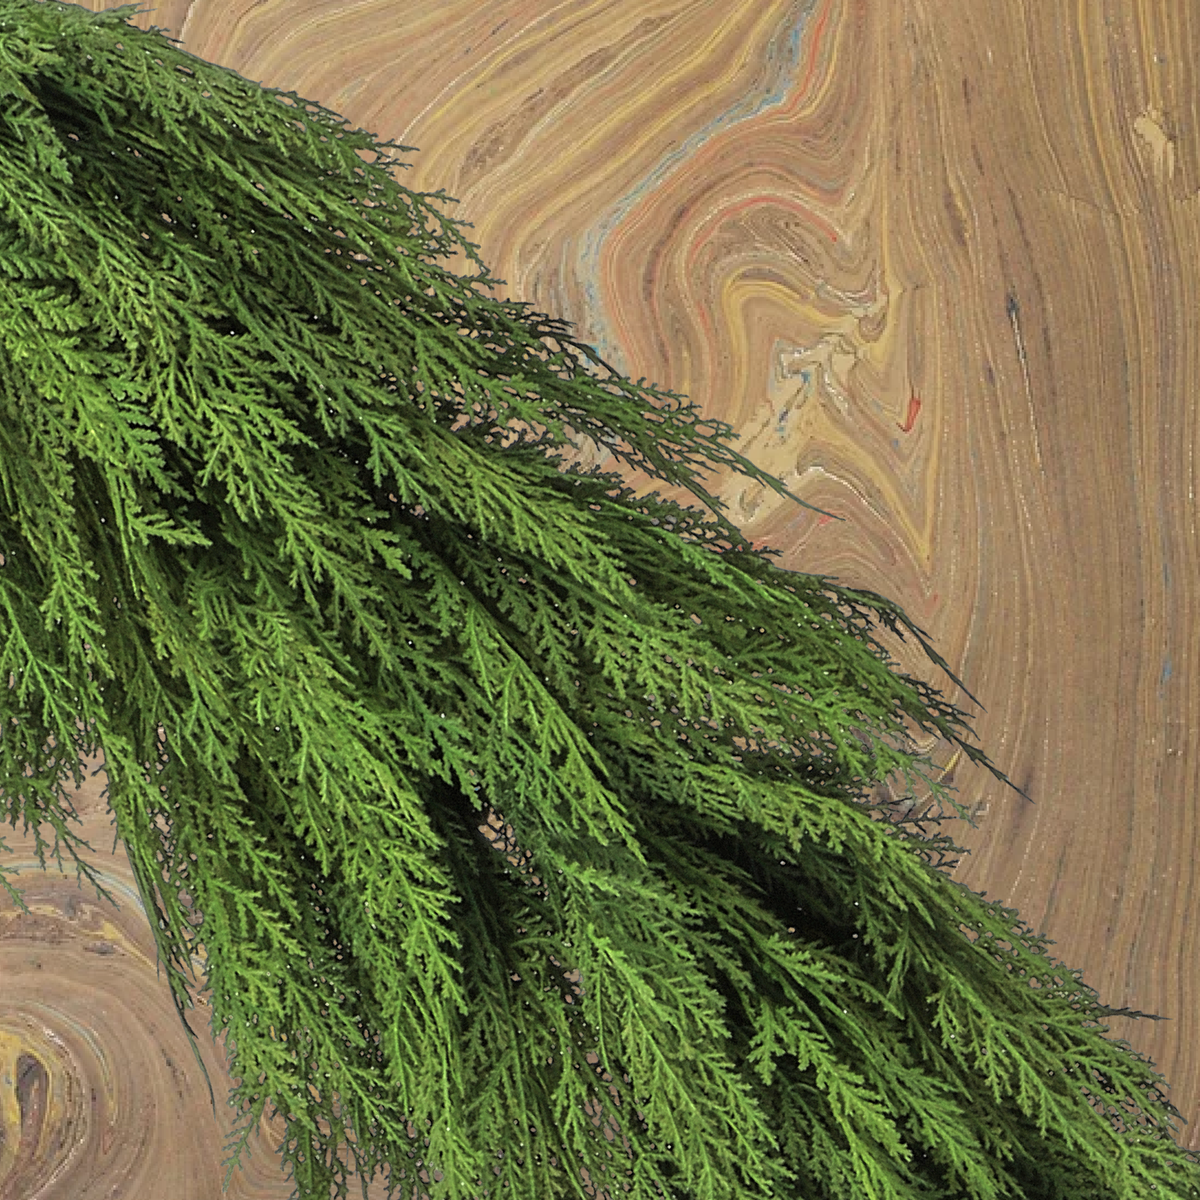
Begin with Greenery
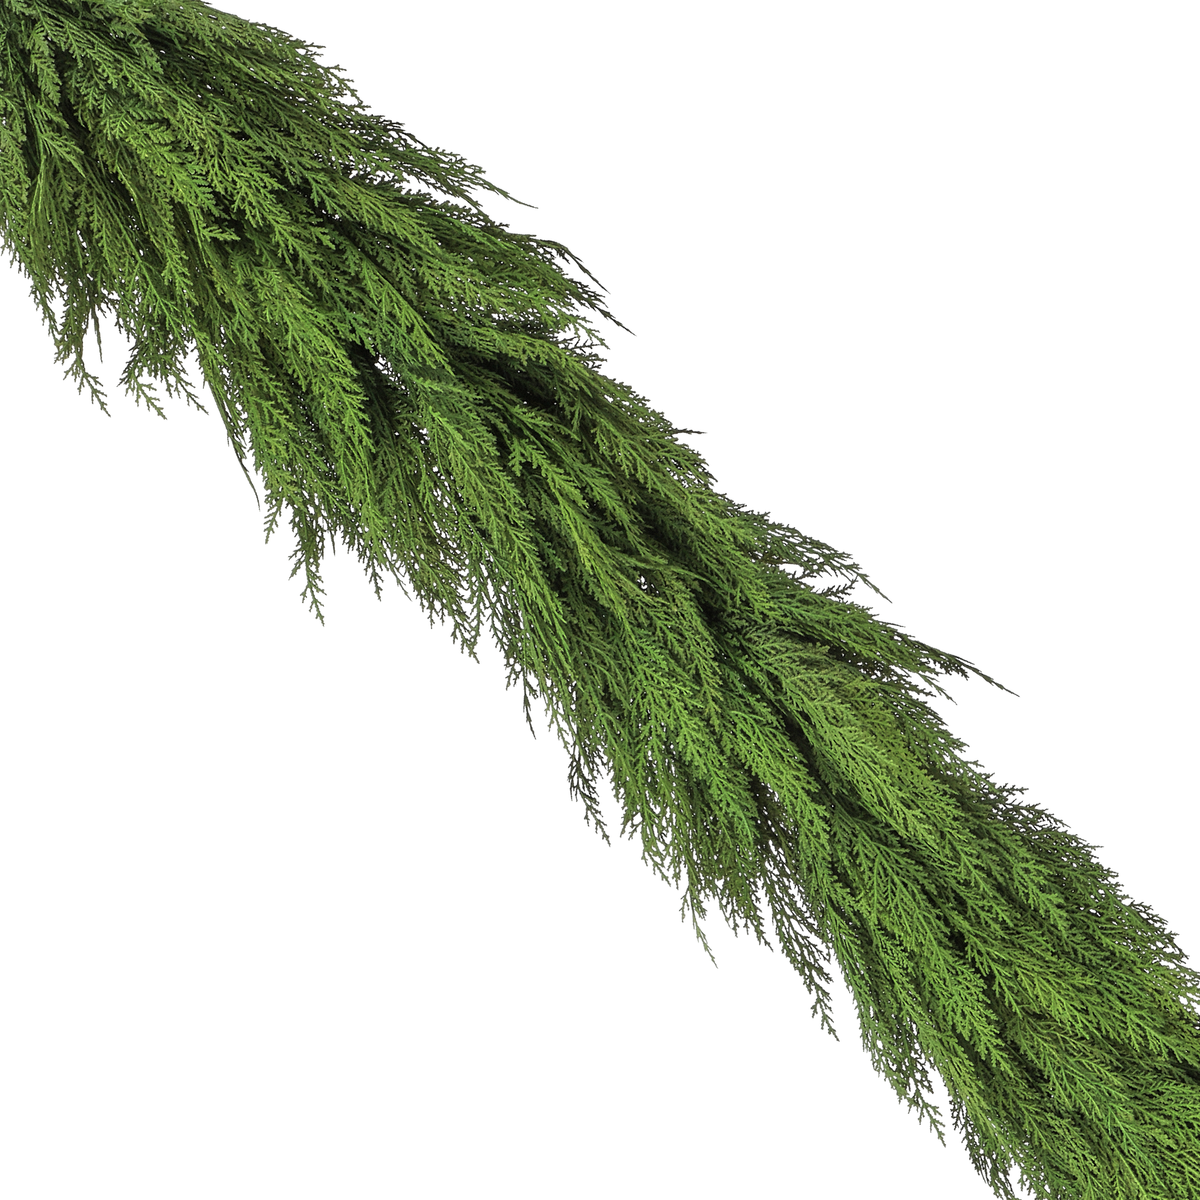
Use the Hampshire Cedar Garland as your foundation. Its long, feathery branches bring softness, movement, and the lush appearance of freshly gathered cedar.
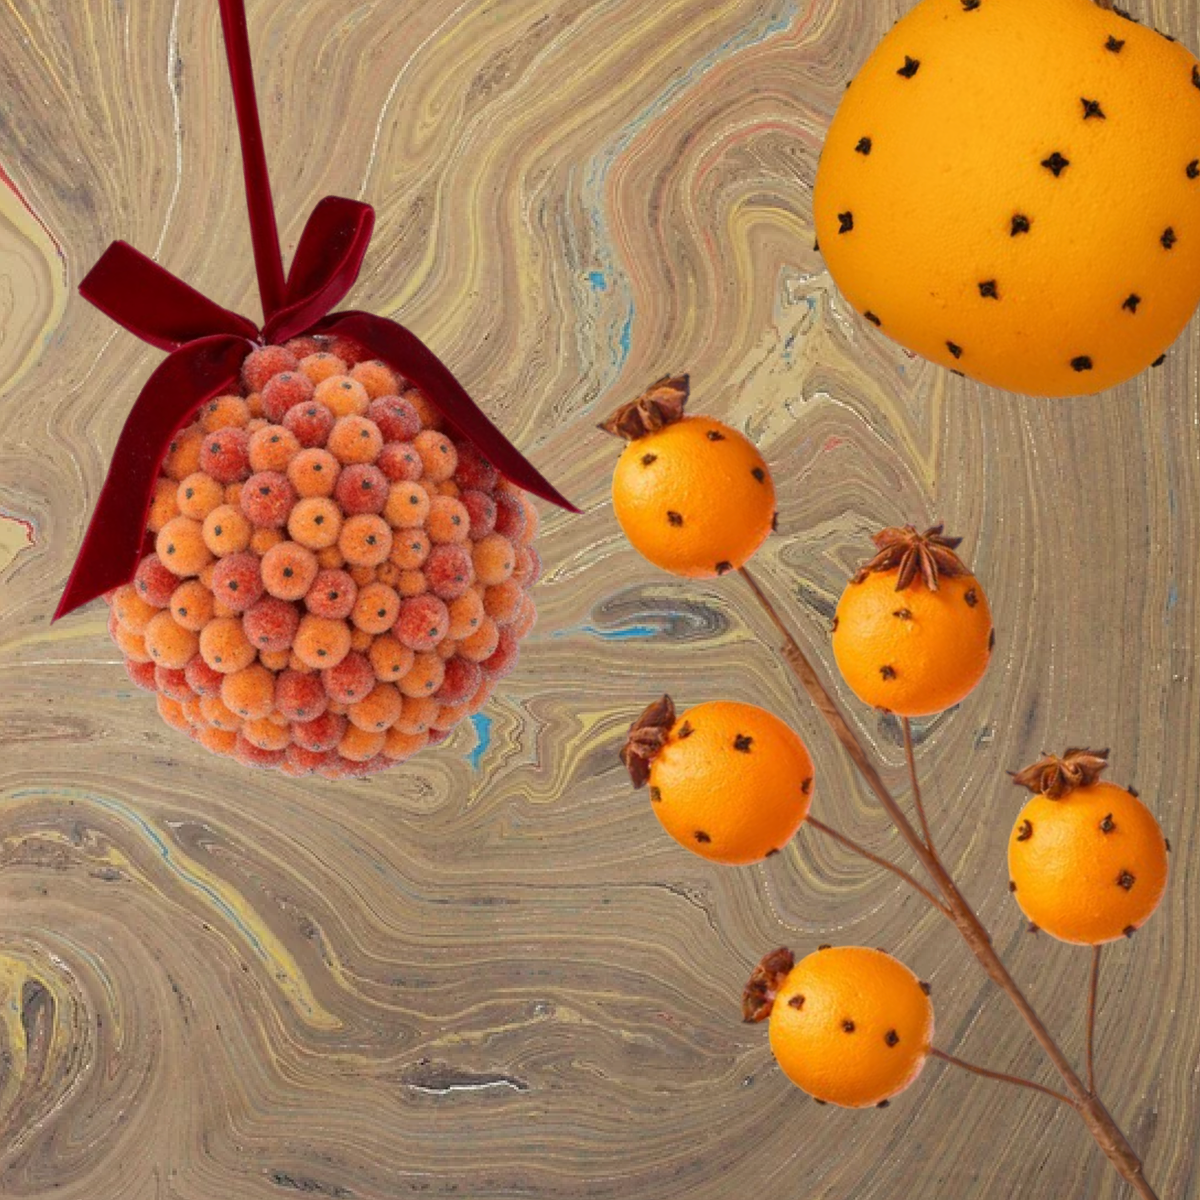
Add Citrus & Berries
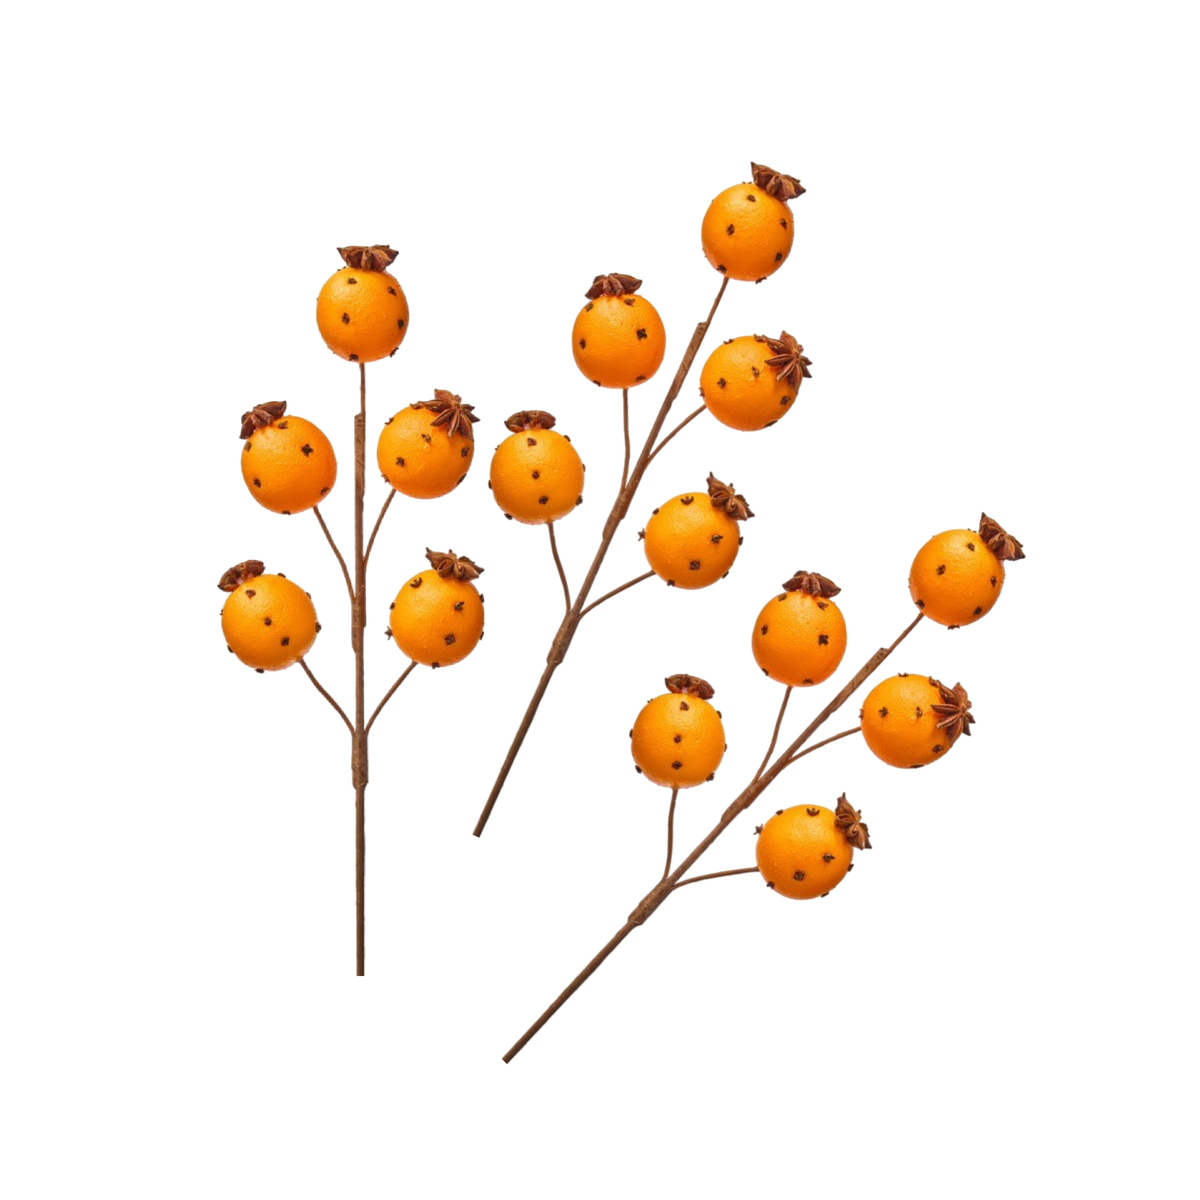
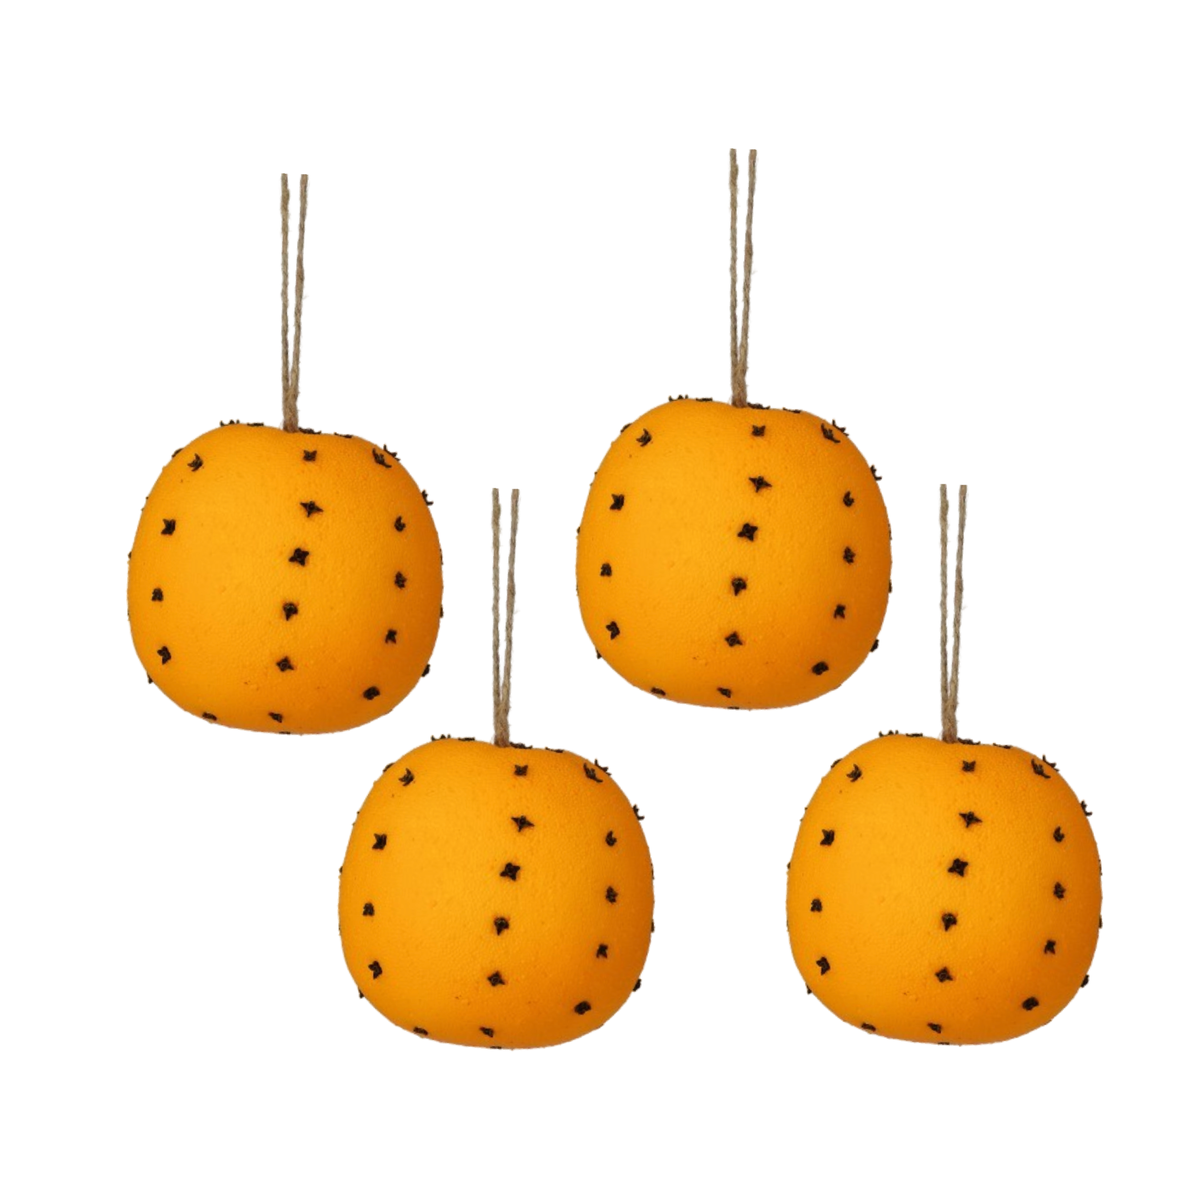
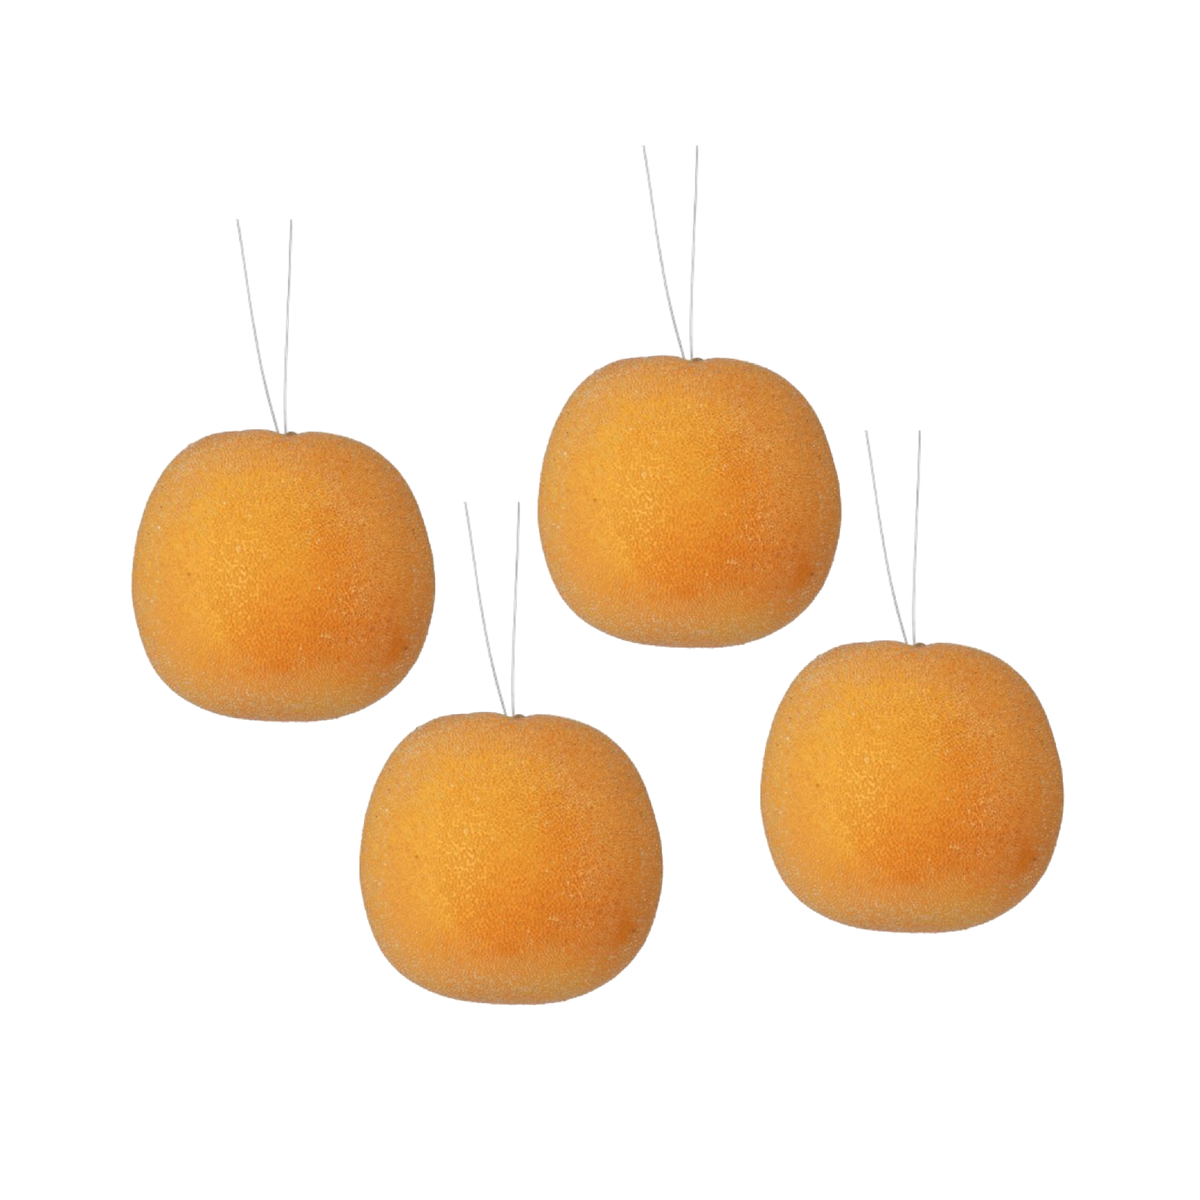
Tuck in Clementine & Clove Pomander Sprays, then layer in Seville Orange Pomander Ornaments, Sugared Seville Orange Ornaments, and Hawthorn Sugared Berry Ornaments for warmth, texture, and varied scale.

Finish with Velvet
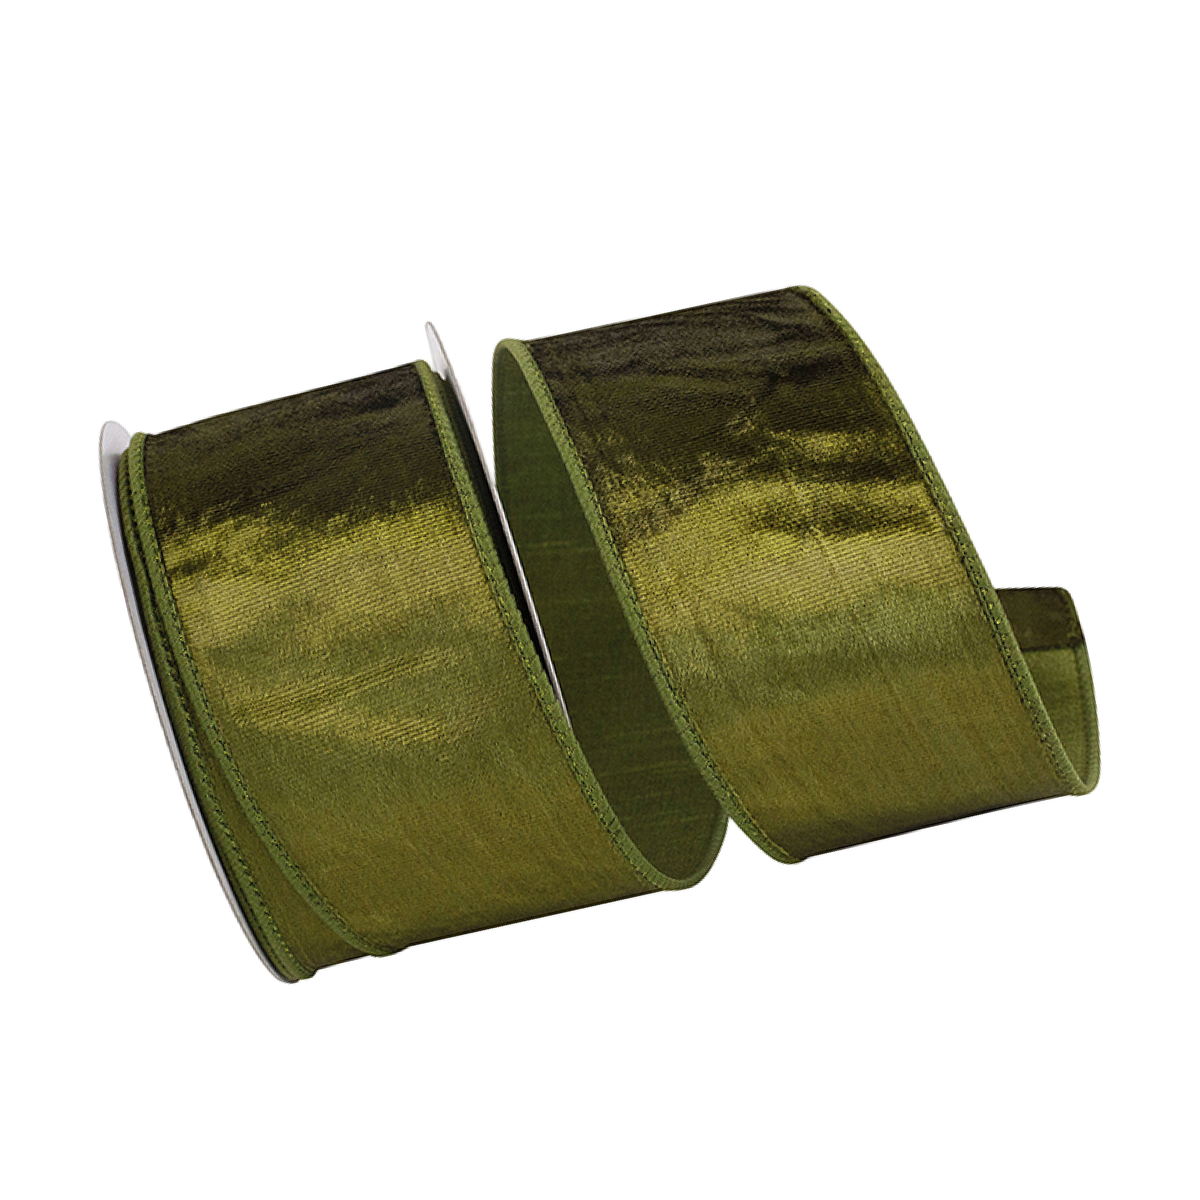
Weave in Olive Vintage Velvet Wired Ribbon to add depth and a beautifully tailored finishing touch.
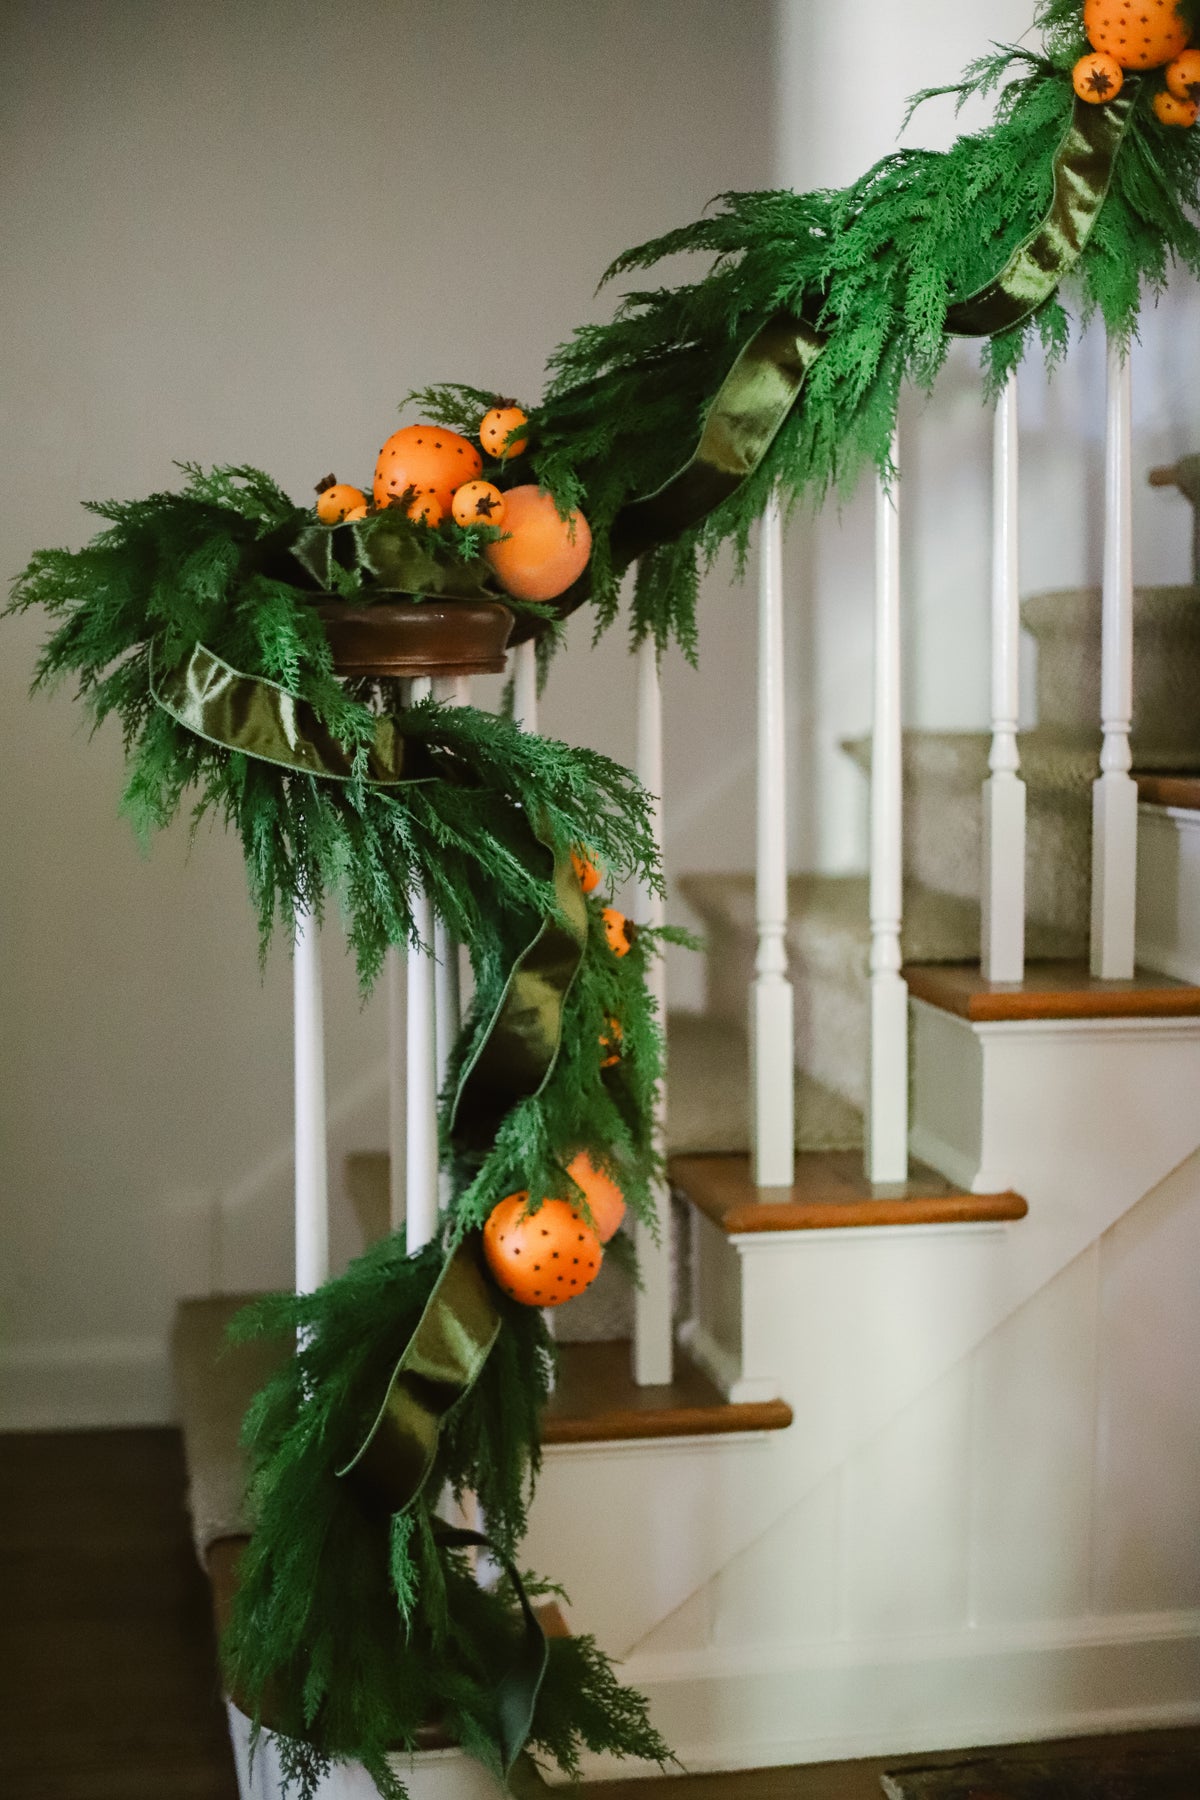
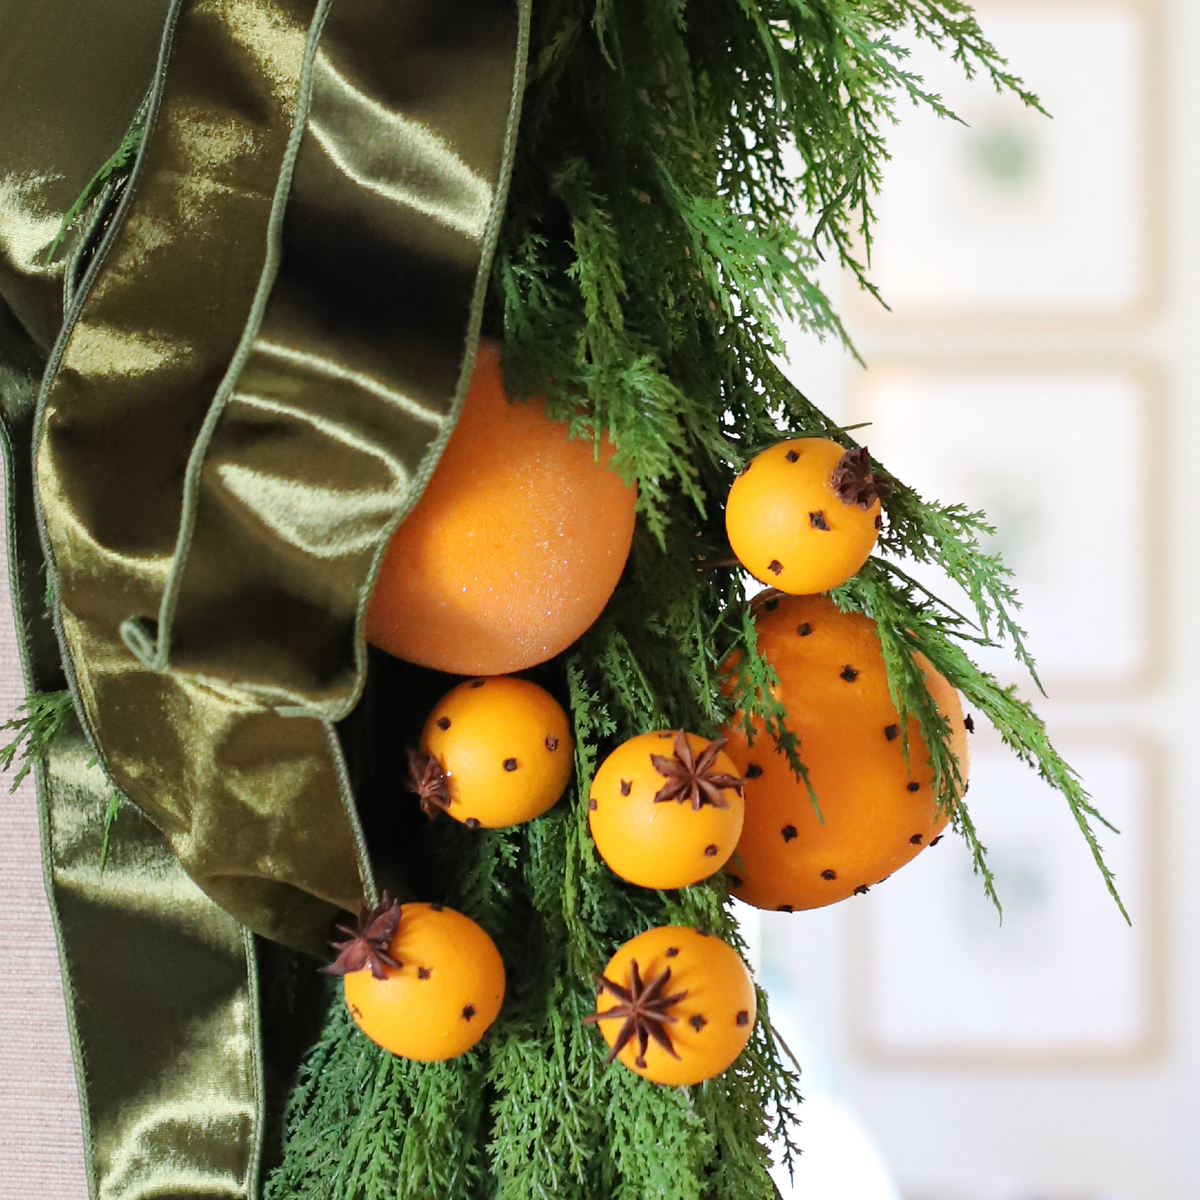
yes, you can do this
A Beautiful Garland, No Decorator Required
Creating this look is easier than it appears. The secret is to secure your greenery first, let the branches fall naturally, and then add oranges and velvet ribbon in relaxed clusters. It does not need to be perfectly symmetrical—the slightly gathered look is part of its charm.
Hampshire Garland Installation Guide
Gather your garland strands, zip ties, removable cord bundlers, scissors, decorative accents, and wired ribbon.
Each Hampshire Cedar Garland has two different ends: a fuller, leafy end and a narrower end with a hanging loop. Identifying those ends before you begin will make joining and arranging multiple strands much easier.
For a staircase:
- Lay your garland strands out with every strand facing the same direction.
- Place the fuller, leafy end of one strand approximately two inches over the hanging-loop end of the next strand.
- Secure the two ends together with a zip tie.
- Pull the surrounding cedar branches over the connection to conceal the loop and zip tie.
- Continue joining strands in the same direction until you have the length you need.
For a mantel or doorway:
- Begin at the center with two garland strands facing in opposite directions.
- Bring the two hanging-loop ends together at the center.
- Cross and overlap the loop ends so there is no bare space between the garlands.
- Secure both ends together with a zip tie, then arrange the cedar branches over the connection.
- To extend either side, place the fuller end of an additional strand approximately eight inches over the exposed hanging-loop end. Secure the connection with a zip tie and cover it with greenery.
For a staircase:
- Position the connected garland along the outside of the stair rail.
- Begin at one end and attach the garland to the railing with zip ties.
- Add zip ties at regular intervals, as well as around curves and any areas that feel especially heavy.
- Tighten each tie enough to hold the garland securely without crushing the greenery.
- Rotate the fastened portion of each tie toward the back of the railing, trim the excess, and cover it with cedar branches.
For a mantel or doorway:
- Clean and dry the surface before installing removable cord bundlers.
- Follow the manufacturer’s directions, surface recommendations, and weight limits.
- Place anchors at both ends, around corners, and at regular intervals across the mantel or doorway.
- Secure the garland to each anchor with zip ties.
- Add another anchor anywhere the greenery sags or pulls away from the surface.
The Hampshire Cedar Garland is designed with naturally draping, feathery branches and requires little to no fluffing. Once it is securely attached, only a few small adjustments should be needed.
- Allow the cedar branches to fall naturally into place.
- Gently separate any sections that may have been compressed during shipping or installation.
- Pull a few longer branches forward to soften the outline and conceal zip ties, hanging loops, and anchors.
- Step back and check the overall shape before adding decorations.
There is no need to shape every branch individually—the garland’s relaxed, natural drape is part of what makes it so beautiful.
The ribbon is attached in soft, gathered loops rather than woven tightly through the branches. Each approximately 24-inch section of ribbon is secured about 18 inches farther down the garland, leaving enough fullness to shape a relaxed loop.
- Gather and pinch one end of the ribbon between your fingers.
- Hold the pinched end against the sturdy central base of the garland.
- Wrap a zip tie around both the garland base and the pinched ribbon. Tighten it securely, trim the excess zip tie, and cover the connection with cedar branches.
- Measure approximately 24 inches of ribbon from the first anchor point. Do not pull the ribbon taut.
- Move approximately 18 inches down the garland from the first anchor point.
- Pinch the ribbon at that spot and secure the pinched section to the garland’s base with another zip tie.
- Shape the extra ribbon between the two anchor points into a soft, generous loop.
- Continue this process along the entire garland: extend approximately 24 inches of ribbon, move approximately 18 inches down the garland, pinch, secure, and shape the excess into a loop.
- Towards the end of the garland, leave a long ribbon tail to fall naturally
Once the ribbon is attached, use its wired edges to shape each loop. Vary the direction and fullness slightly so the ribbon looks relaxed and naturally gathered rather than perfectly uniform.
Add the clementine sprays first:
- Bend and shape each spray a bit before placing it.
- Tuck the long stem into the garland close to its central spine.
- Position the clementines in loose clusters rather than spacing them perfectly evenly.
- Secure the stem by flexing the long stem around the garland base.
Add the larger orange ornaments next:
- Cluster the pomander and sugared ornaments throughout the garland
- Attach ornaments to the garland base with zip ties.
- Vary their height and position so the arrangement feels natural.
- Use the larger oranges to fill visual gaps and the petite clementines to soften the spaces around them.
Pop the champagne. You did it!
Step back and look at the entire arrangement. Adjust the greenery, citrus, and ribbon until the weight and color feel balanced—but resist the urge to make both sides identical. The most beautiful Hampshire garlands feel abundant, collected, and slightly relaxed.